Installing your own internet wiring can be a game-changer for your home network. This DIY project is not just about saving a few bucks; it’s about significantly enhancing your connectivity experience. Whether you’re an avid gamer wanting a lag-free experience or a binge-watcher looking for uninterrupted streaming, having a wired connection can make all the difference. By committing to robust internet wiring installation, you can enjoy fast internet speeds and reduce latency, which are essential for demanding tasks and high-performance online activities.
Imagine completing an intense gaming session, and the last second delay in response cost you the win. Or picture yourself streaming your favorite show, only to be met with buffering halfway through. By taking the plunge into DIY internet wiring, you can design a network setup that meets your specific needs. You’ll have the power to choose the right cables, such as Cat6 or even faster options like Cat6a or fiber optic, ensuring that your home is equipped for the internet demands of today and the future.
In the upcoming sections, we’ll delve into the essentials of internet wiring installation, review the necessary tools and materials, and provide a detailed step-by-step guide to transforming your home into a wired sanctuary. You’ll learn how to optimize your home internet, install the right cables, and set yourself up for a faster connection, tailored just for you.
Understanding the Importance of Internet Wiring
Establishing a reliable internet connection is crucial for both personal and professional environments. In particular, stable internet wiring provides a solid foundation that supports various digital activities without interruptions. Understanding the benefits of a wired connection can help you make informed decisions about your internet setup.
Benefits of a Wired Connection
The advantages of a wired connection are numerous and significant. When you opt for proper internet wiring setup, you will likely experience:
- Higher speeds that often outpace wireless alternatives.
- Improved stability with less interference from physical barriers and other devices.
- Lower latency, essential for tasks such as gaming and video conferencing.
- Enhanced security because wired connections are less susceptible to unauthorized access compared to Wi-Fi.
These benefits contribute to overall efficiency, making wired connections particularly advantageous for homes and businesses that demand high-quality internet connectivity.
Comparing Ethernet vs. Wi-Fi
In the ongoing wired vs wireless comparison, Ethernet has distinct advantages over Wi-Fi. While both technologies serve to connect devices, their performance metrics often differ:
| Feature | Ethernet | Wi-Fi |
|---|---|---|
| Speed | Can reach up to 10 Gbps with Cat6a cables | Varies, typically lower than wired |
| Stability | Highly stable, minimal interference | More susceptible to fluctuations |
| Security | Generally more secure | Prone to hacking and unauthorized access |
| Installation Complexity | Requires careful cabling setup | Relatively easy with minimal setup |
Ethernet connections excel in providing a robust infrastructure that supports a wide range of applications, especially in high-demand environments. As your needs evolve, investing in stable internet wiring ensures consistent service that enhances performance across various tasks.
Internet Wiring Installation – Essential Tools and Materials
Installing a proper internet wiring system involves more than just laying down cables. You must equip yourself with the right tools and make informed choices about the cables you select. Understanding the tools needed for installation and effectively choosing Ethernet cables is crucial for a successful setup.
Required Tools for Installation
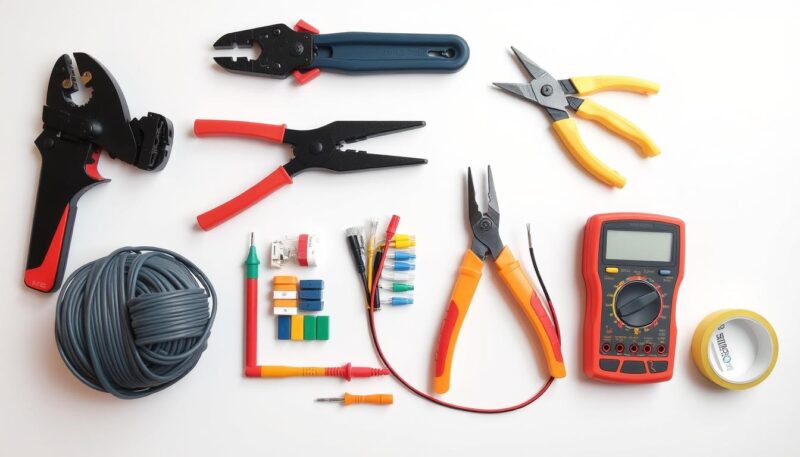
A variety of network cable installation tools are essential for executing an efficient installation. Here’s a list of the necessary items:
- Cable crimping tool – used for attaching connectors to cable ends
- Keystone jacks – facilitate modular connections
- Wall plates – enhance the overall aesthetics of installations
- Punch-down tools – ensure secure wire connections
- Cable testers – verify that connections function properly
- Drill – create pathways for cables
- Stud finder – help avoid obstacles within walls
Choosing the Right Cables
Choosing the right cables is vital when planning the types of cables for internet wiring in your home. Several Ethernet cable categories exist, namely Cat5e, Cat6, Cat6a, Cat7, and even Cat8. Most home applications benefit from Cat6 cables, which support speeds up to 10 Gbps for distances up to 55 meters. This makes Cat6 an excellent choice for delivering both speed and bandwidth in typical household configurations.
When evaluating Cat6 vs. Cat5e, keep the following points in mind:
| Cable Type | Maximum Speed | Maximum Length for 10 Gbps | Bandwidth | Approximate Cost for 500 ft |
|---|---|---|---|---|
| Cat5e | 1 Gbps | 45 meters | 100 MHz | $30 |
| Cat6 | 10 Gbps | 55 meters | 250 MHz | $55 |
| Cat6a | 10 Gbps | 500 meters | 500 MHz | $99 |
| Cat7 | 10 Gbps | over 100 meters | 600 MHz | $120 |
| Cat8 | 25-40 Gbps | 30 meters | 2000 MHz | $200 |
Using pure copper cables is advisable for optimal performance, as they outperform Copper Clad Aluminum (CCA) options. For specialized installations, consider plenum-rated cables for ducts and CMR cables for vertical runs. By equipping yourself with proper tools and selecting the right cables, you will establish a robust internet wiring system.

Step-by-Step Guide to Wiring Your Home for Internet
Setting up your home network requires careful consideration and methodical execution to ensure optimal performance. Following these DIY home wiring steps will help you achieve a functional and efficient network installation.
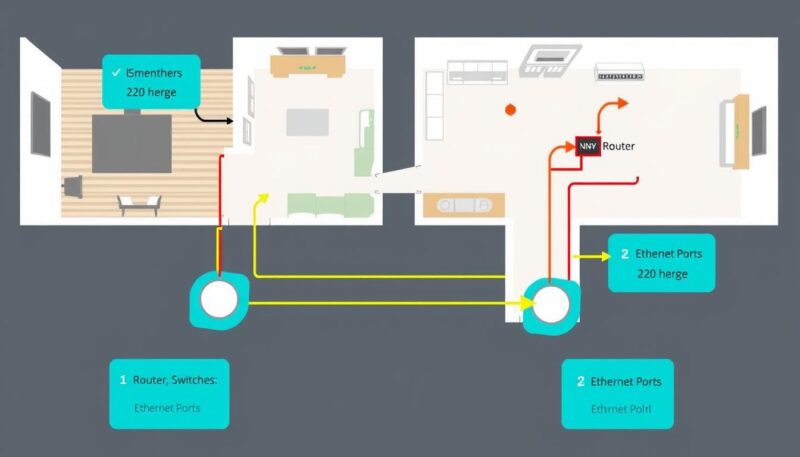
Planning Your Network Layout
Begin with planning your home network layout by identifying key areas where you need Ethernet ports. Factors to consider include:
- High-traffic areas such as living rooms and gaming zones.
- Future expansion possibilities for additional devices.
- Optimal cable paths that minimize cable length and reduce signal loss.
For instance, routing cables through attics or basements often maximizes cable management. Ensure compliance with the maximum cable length of 100 meters to support gigabit speeds. Many homes feature studs spaced 16 inches apart, which can help when deciding where to drill and run cables. Planning for multiple wall sockets, such as having at least two in each room, supports multiple devices and future needs.
Executing the Installation Process
Next, focus on executing the installation process. Implement the following steps:
- Install wall plates in each designated location.
- Run cables from a central distribution point to each wall plate, adhering to your planned optimal cable paths.
- Use RJ-45 connectors to terminate your cables at the jacks.
- Employ a network tester to validate each connection, ensuring functionality.
Gather tools such as a drill, stud finder, and cable tester for efficient execution. Each port can only accommodate specific cable types, such as Cat5e or Cat6, supporting speeds suitable for various uses, from standard browsing to 4K streaming. Cable management is crucial; consider products like Velcro strips or grommets, which are inexpensive yet effective in organizing cables.
The installation of 12 ports in a condo, which could include gaming consoles in an entertainment area, exemplifies a successful execution of this installation process. As with any DIY network setup, ensuring proper labeling and thorough testing of connections portrays professionalism and will maintain network integrity.

| Item | Cost | Notes |
|---|---|---|
| Single gang retrofit box | $0.25 | Essential for wall plate installation. |
| RJ-45 jacks | $14 (12 jacks) | Required for cable terminations. |
| Wall plates | $0.35 per plate | Used for neatening connections. |
| Plastic grommet | $0.60 | Protects cables from sharp edges. |
| Velcro strips for cable management | $3 per roll | Helps organize and secure cables. |
| Patch cables | $5 | Short connections for devices. |
Conclusion
As you wrap up your DIY internet wiring guide, it’s clear that investing time in a well-planned and executed internet wiring installation pays off. By understanding the benefits of a wired connection, such as increased speed and reduced latency, you set the foundation for an efficient home network setup that can adapt to your growing digital needs.
Utilizing the right tools and selecting the correct cables, whether it’s Cat5e, Cat6, or even the high-capacity Cat8, is crucial. These choices not only impact your current network performance but also contribute to its longevity and reliability. Proper installation practices, such as the star configuration and the use of shielded cables in high-interference environments, further ensure optimal functionality.
In closing, following the outlined steps in this guide, coupled with regular maintenance like checking for cable damage and ensuring connections are secure, will lead to a robust and high-performing network. Remember these final thoughts on wiring—investing in quality materials and understanding the layout can bring lasting benefits to your internet connectivity and overall digital experience.
As a seasoned tech enthusiast and content creator, I bring a wealth of knowledge and passion for cutting-edge Samsung TV technology to the forefront. With a background in digital marketing and a keen eye for innovation, I strive to deliver insightful and engaging content that keeps readers informed and inspired. Join me on a journey through the latest advancements in Samsung TV technology, where we explore the intersection of entertainment, innovation, and connectivity.

